Panning is Very Easy to Do
Have you ever seen a still image, a shot that's completely frozen in time, that still seems like it's moving? It's an amazing technique in photography that can quickly raise the bar in terms of quality. But how do you actually make it happen?
If you've learned about backgrounds and foregrounds, then you might quickly realize that keeping one in focus with the other out of focus is a little tricky. Some cameras do it automatically, but there are many different settings to consider when doing it manually. This technique of keeping your moving subject in focus with a streaked background, called panning, is something that will most likely have to be done manually, so it pays to take a minute to check out this article on how to achieve it properly.
For example, what are the limitations of panning? Is it easy to do with an affordable consumer model of camera? Do you need special equipment? In this article, we'll go through the process of panning, step by step, and answer some of these questions.
What is panning?
In film, panning means that you swivel the camera from left to right, or right to left, in a horizontal fixed position. In photography, panning is a technique used to combine a slow shutter speed with motion in front of the camera. This creates a sense of movement, activity, and speed around the subject that's moving. More specifically, the technique creates a sense of speed while keeping your subject in focus and your background blurred.
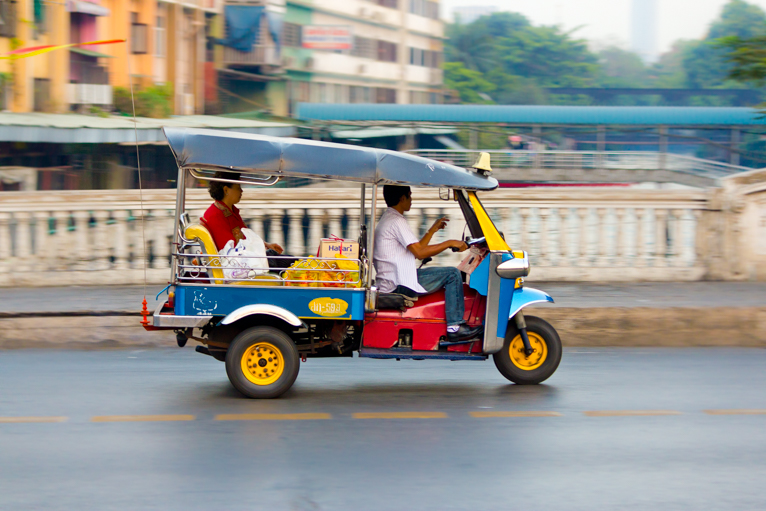
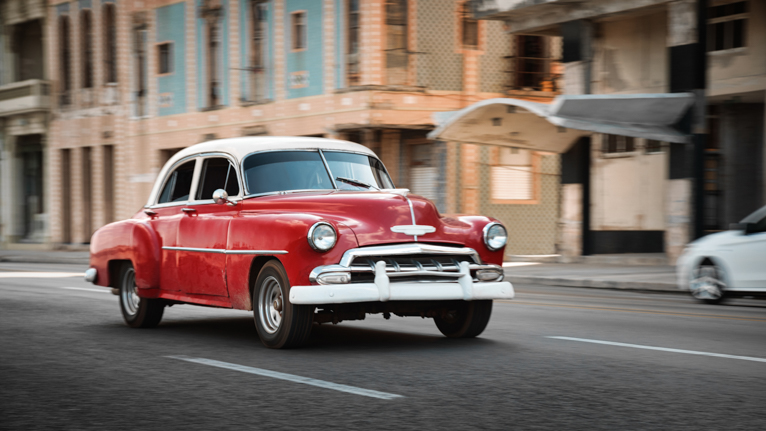
Usually, but not always, this is done in a horizontal fashion. Imagine a motorcycle coming down the road. You could take a still shot of this motorcycle, but it's much more engaging to take a shot of the motorcycle using the panning technique. Doing this, the motorcycle will look like it's rocketing down the road, even though it's actually sharp in your photo.
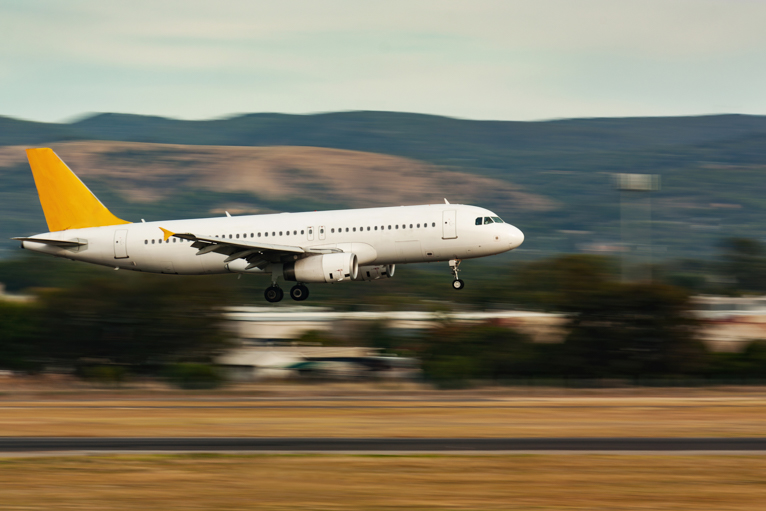
Panning isn't limited to horizontal shots, though. Vertical panning can create some really dynamic images of subjects rising and falling, such as a helicopter taking off or a diver springing off of the diving board.
How to achieve panning?
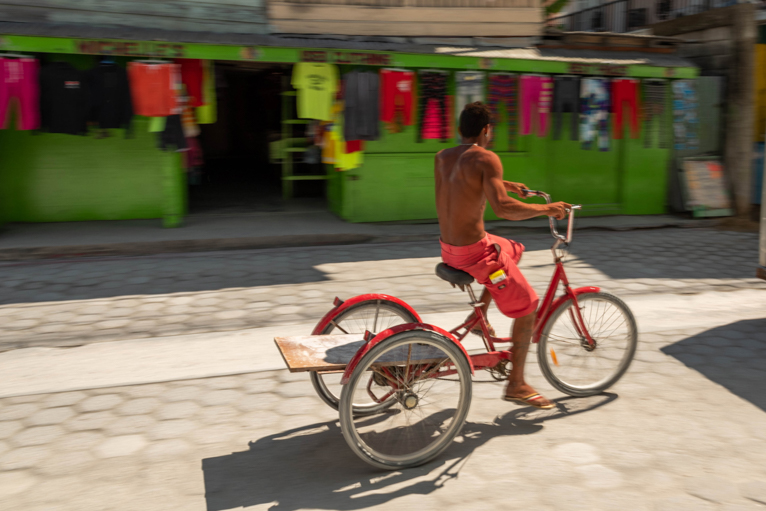
The first thing you need to do when applying the panning technique to your photography is to select the right subject. A person sitting on a bench eating their lunch is not going to work as there is no activity, no movement, and no sense of speed. Always select a moving subject when panning.
Next, set your shutter speed at the appropriate level. You will need something that will be fast enough to be able to shoot handheld and freeze the action but slow enough to be able to pan. A good starting point is below 1/60th sec (down to 1/30th sec). You should also set your ISO and f/stop accordingly, so make sure you pay attention to these.
The next part can be a little tricky and depending on the subject that you are shooting. You will need to move your camera at the same pace and in the same direction as your moving subject. Keeping the same pace as your subject is crucial to an effective application of the panning technique. Without this key aspect, your panning shot won't work.
By keeping the subject in focus and moving the camera it will create the desired motion effect in the background. Hold down the camera's trigger so that you can continuously take shots of the subject as you move along with it/them. You do not want to rely on a one-and-done kind of photography! You want to take as many shots as possible to ensure you capture a few useable frames.
As mentioned, you'll need to practice this a lot before you can mater it. Keep in mind that the lower the shutter speed, the more difficult it can be to maintain a steady exposure. You'll want to practice with the sense of motion to maintain stability and using a larger f/stop is a good tip. You won't need to be concerned with focal pane and you can then put more effort into maintaining the correct motion.

A few extra tips
Shooting in bright light, especially outdoor natural light might mean that you will need a filter so that your shutter speed can be slow enough for this to work. If that's the case use a neutral density filter. For stability, a monopod can be really useful since they are more versatile. A tripod will likely get in your way, and since stability is still important even though you're being active and moving with your subject, a monopod will allow you to quickly adjust as needed. But you should try to practice to be able to do this handheld as sometimes you won't have time to set up a monopod or tripod.
A big aspect of panning is also about planning. So make sure you have what you need ahead of time and you have practised a little bit. Needless to say that you will have to give yourself a few tries to get the shot perfectly so don't try to rush it. Panning does take lots of practice to master, but with the right equipment and some perseverance, anyone can do it effectively.
Photo credits: Kav Dadfar – All rights reserved. No usage without permission. Dreamstime.
- Latest Articles
- Author Bio
Source: https://www.lifepixel.com/photo-tutorials/what-is-panning-and-how-to-achieve-it